
How to Correctly Create a Redacted Face in Images and PDFs: The Ultimate Privacy Guide
Every photo you upload carries more data than you think. A selfie shared in a support ticket. A PDF contract with a visible ID photo. A screenshot that accidentally captures a colleague’s face. In the age of AI-powered scraping and identity theft, a visible face is a liability.
This guide shows you exactly how to create a redacted face — one that is permanently and irreversibly hidden. Not covered. Not blurred with a reversible filter. Truly destroyed at the pixel level.
What Is a “Redacted Face” and Why Simple Brushes Fail
A redacted face means the original facial pixels no longer exist in the file. The sensitive region has been replaced with new pixel data — a solid color block, a mosaic pattern, or a blur that cannot be undone.
The illusion of a drawing brush
Most phone and desktop editors work in layers. When you draw a black scribble over a face in your gallery app, you are adding a new visual layer on top. The original face pixels remain intact underneath.
Anyone with basic image-editing skills can remove that top layer and recover the face. This is not hypothetical. Data recovery tools, layer inspectors, and even simple contrast adjustments can expose what you thought was hidden.
Why “cover-ups” fail compliance audits
Regulations like GDPR and HIPAA do not accept visual cover-ups as valid anonymization. If the original data can be recovered by any means, the redaction is considered incomplete. Auditors treat reversible edits the same as no edit at all.
True redaction means the underlying pixel data is overwritten. No layers. No metadata trail. No recovery path.
Step-by-Step Guide to Face Redaction in PDFs and Images
Here is a practical workflow you can follow right now. No software installation. No account creation. No file uploads to external servers.
Step 1: Choose a browser-based redaction tool
Open a free web redaction tool that runs entirely in your browser. Client-side processing means your file never leaves your device. This is the single most important privacy guarantee you can have.
Step 2: Upload your image or PDF
Drag and drop the file into the upload area. Supported formats include JPG, PNG, GIF, WebP, and multi-page PDF. The tool renders a preview directly in your browser tab.
Step 3: Draw a redaction region over the face
Click and drag a rectangle over the face you want to hide. The tool immediately applies your chosen effect — solid fill, mosaic, or blur — directly onto the preview canvas.
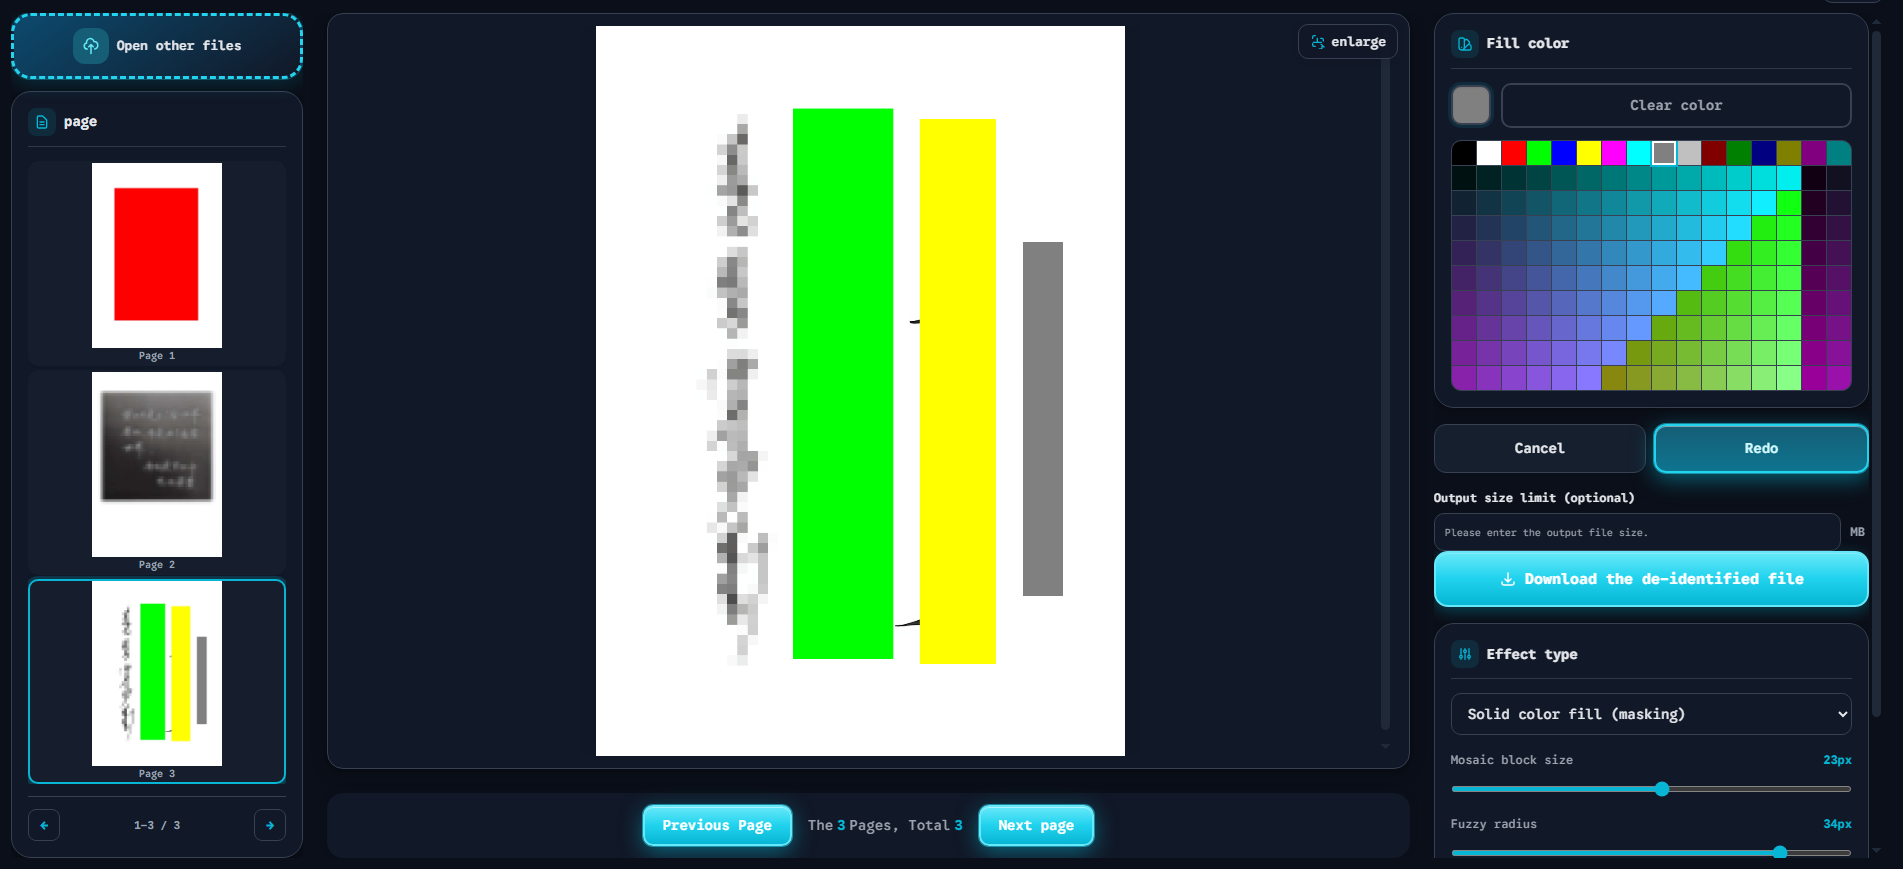
User-friendly web interfaces like the one above make solid color masking instant and irreversible. The red block you see in the preview is not a layer sitting on top. It is the actual pixel data that will be written to the exported file. Once you download, the original face is gone forever.
Step 4: Choose your redaction effect
Most tools offer three effect types:
- Solid fill — replaces the region with a uniform color. Best for formal documents and compliance scenarios.
- Mosaic (pixelate) — breaks the region into large colored blocks. Ideal for photos where you want to signal “something was here.”
- Blur — softens the region beyond recognition. Works well for casual screenshots and social media posts.
Step 5: Export and verify
Click download. Open the exported file in a separate viewer. Zoom in on the redacted area. Confirm that no facial features, skin tones, or identifying marks are visible. The redaction is permanent.
Introducing Our Free, Client-Side Redaction Tool
ToolVX is a free, browser-based image and PDF redaction platform built for privacy-first workflows. Here is what sets it apart:
100% free, no login required
There is no paywall, no trial period, and no account creation. Open the tool, drop your file, redact, and download. That is the entire workflow.
Client-side processing — files never touch a server
Every operation runs inside your browser using JavaScript and WebAssembly. Your image or PDF is never uploaded to any server. There is no cloud API, no storage bucket, and no data retention policy because no data ever leaves your device.
This matters for three reasons:
- Speed — processing happens at local hardware speed, not network speed.
- Privacy — no third party ever sees your file, even temporarily.
- Compliance — client-side processing satisfies data minimization requirements under GDPR Article 5 and similar frameworks.
Multi-format support
The tool handles JPG, PNG, GIF, WebP images and multi-page PDF documents. You can redact faces across an entire PDF in one session, page by page, with undo support per page before export.
Three redaction effects, one interface
Switch between solid fill, mosaic, and blur with a single click. Apply different effects to different regions on the same page. Export when every sensitive element is covered.
Common Mistakes to Avoid When Redacting Faces
Even with the right tool, user error can undermine your privacy efforts. Watch out for these pitfalls:
Mistake 1: Redacting too small a region
A rectangle that barely covers the face may leave hair, ears, or neck visible. These features can still be used for identification. Always include a margin of at least 10–15% around the face boundary.
Mistake 2: Forgetting reflections and shadows
A face reflected in a window, a mirror, or a polished surface can reveal identity even after the primary face is redacted. Scan the entire image for secondary exposures before exporting.
Mistake 3: Using reversible blur filters
Some photo apps apply blur as a non-destructive filter. The original sharp image remains embedded in the file metadata. Always use a tool that writes new pixel data to the exported file, not one that stores filter parameters.
Mistake 4: Sharing the original file alongside the redacted version
It sounds obvious, but it happens constantly. You redact a PDF, export the clean copy, and then accidentally share the original from your downloads folder. Delete or securely archive the source file after redaction.
When Do You Need Face Redaction?
Face redaction is not just for journalists and lawyers. Here are everyday situations where it matters:
- Remote workers sharing screen recordings that capture webcam thumbnails of teammates.
- Parents posting school event photos where other children’s faces are visible.
- Freelancers submitting portfolio samples that include client faces or office environments.
- Researchers publishing datasets with participant photos that require anonymization.
- Anyone forwarding a screenshot that accidentally includes a video call participant.
In each case, a properly redacted face protects both you and the person in the image.
Quick Answer: How to Redact a Face Permanently
To permanently redact a face in an image or PDF, use a browser-based redaction tool that overwrites pixel data client-side. Draw a rectangle over the face, apply a solid fill or mosaic effect, and download the exported file. The original facial pixels are destroyed and cannot be recovered. Avoid drawing brushes and reversible blur filters — they leave the original data intact.
Final Thoughts
Privacy is not a feature you toggle on. It is a practice you build into your workflow. Creating a properly redacted face takes less than 30 seconds with the right tool, but the protection it provides lasts forever.
Stop relying on drawing brushes and reversible filters. Start using the Free Client-Side Image and PDF Redaction Tool that actually destroys sensitive data. Your files, your device, your privacy. For a full comparison of redaction software options, see our image redaction software review.